Using drones to carry a thermal imaging camera through the air and collect/analyze data is invaluable in a variety of applications. If you’d like to learn a bit more about the basics of thermal imaging, drones, and their common applications or markets check this article out.
In this article I will dive deep into all the different options one can get into when getting into thermal imaging off a drone platform. I go through the most affordable way to get into it. But, I also go through the specs of a variety of thermal cameras that are better options for the serious professional.
The Platform
The drone is the platform. Its job is to carry the payload, which for us is our thermal camera, for as long as possible with control and good range. A drone that can give longer flight while carrying a payload usually means you need a larger drone. The heavier the thermal camera setup the less flight time you will have.
Most thermal camera applications make use of a multi-rotor drone rather than a fixed wing drone. This is done because in most cases one is trying to inspect a certain area or hone in on something specific. While a fixed wing can cover more distance in a short amount of time, it cannot focus on one area. You’d have to keep looping the drone around to look at the one spot you needed to see.
Some industries it might make sense to have a thermal camera on a fixed wing. For example,, wild forest fires could be surveyed and inspected with a thermal camera on-board a fixed wing. Pipe-line and power lines could also make use of a thermal camera fly over with a fixed wing. They would have to come back to any hot spots for a closer inspection.
There are a few features other than just a thermal camera you would require to be on-board your drone platform. Firstly, you definitely need a GPS sensor. This can help immensely with knowing exactly where your drone is so that you can help navigate others to its findings. Most of the consumer drones that cost more than $400 come with GPS these days.
Search and Rescue efforts would allow you to immediately dictate where you see a heat signature coming from that could be a child and direct the authorities. Another big reason behind needing GPS is that if you were to lose your drone, you would be able to track it. And with an expensive thermal camera setup that is essential.
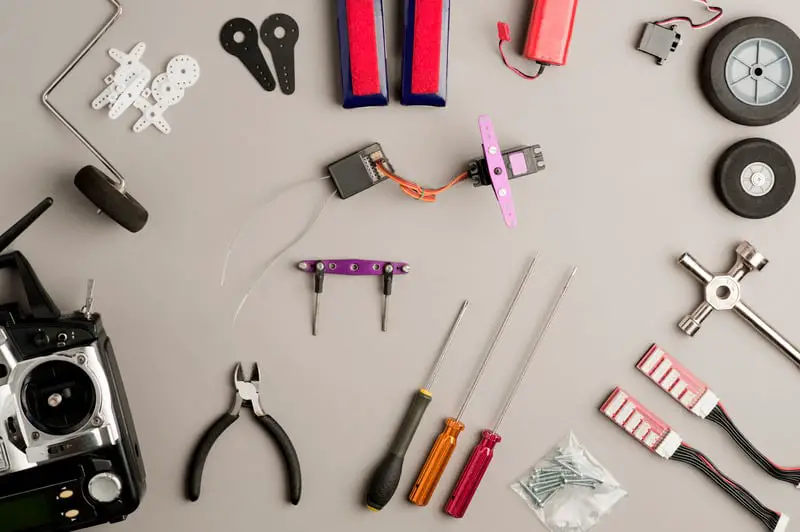
Custom Built Drones
Building the drone platform yourself can be one of the most affordable options. However, it takes time, patience and knowledge on what you are doing. Most drones are compromised of a frame, ESCs, motors, Flight Controller, Receiver, VTX (Video Transmitter), GPS Module, Antennas, and Props. Some brand flight controllers will not communicate with other brand receivers. All the connections from one piece of electronics to the next will need to be soldered.
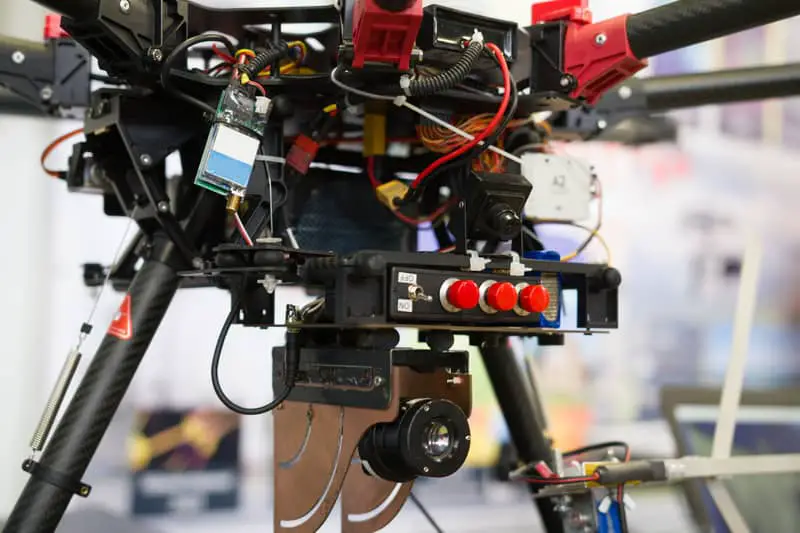
If you don’t have any experience in building drones I would not recommend your first build to be a thermal imaging drone platform. It will not have been tested and could be unstable or have a variety of issues. However, if you are still keen to stay as affordable as possible. There are some cheaper kits from China that will have all the parts and just need to be put together.
Consumer & Commercial Drones
When it comes to buying an off the shelf drone there are a lot of options, though most will not be as inexpensive as building your own. Established companies like Parrot, Yuneec, and DJI offer drones that are reliable, high quality and field-proven, so you don’t have to worry about low-quality motors failing or other regular concerns in the DIY community, and even the inexpensive drones from other makers can still be very capable platforms for thermal imaging.
If you are buying a drone from a manufacturer you have a few options on mounting the thermal camera. Buy a mounting bracket or make one to attach to the drone. You can make one with a 3D printer but most of the time you can find aftermarket mounts for a variety of consumer drones. Or buy a drone already capable of thermal imaging.
Ideally, for the professional, you want the thermal camera mounted on a gimbal so that you can control it from the ground and get different angles. A gimbal will also hold the camera level, steady and adds an extra degree of control.
If engineering your own mount doesn’t sound like fun, most large drone manufacturers simply offer drones that have IR capabilities, or offer drones that have interchangeable cameras. The Parrot Anifa Thermal is a very budget-friendly ready-to-fly drone with IR capabilities and is a favorite of the Department of Interior, while the Inspire platform from DJI offers a massive range of camera options including thermal, NDVI, and NIR that can all be used interchangeably.
Do keep in mind with a custom build there is an added complexity and cost in being able to view the thermal imagery live. This requires a separate transmitter system to broadcast the image down to a receiver and screen.
If a live thermal image isn’t required and you just have the normal camera feed that still works. You then just have to offload the thermal camera data when you land and analyze it at your computer. This would be acceptable for inspecting a field of solar panels but would not work very well in a search and rescue effort.
Enterprise Drones
If budget isn’t a concern and you want the most performance possible, large drones that come from the factory equipped with powerful thermal cameras are the best choice. Drones like the DJI M210 carry multiple batteries, sometimes having multiple cameras that can switch between thermal and visual, and long-range antennas.
They can also be custom outfitted with job-specific tools, like high voltage shielding for tower inspections or telephoto lenses for search and rescue. From there it only gets wilder, with long-range fixed wing drones like the military’s RQ-7 that can fly for days carrying multiple cameras and sensors.
Thermal Camera options
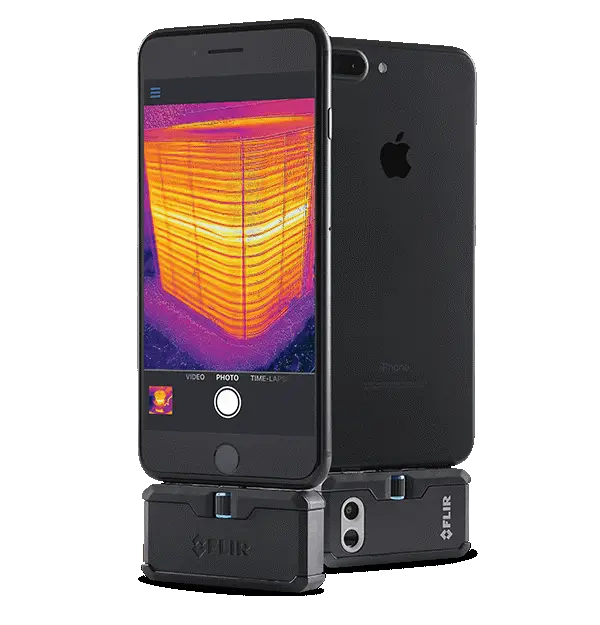
Just like with the drones, Cameras range from simple and cheap to complicated and expensive. From cellphone thermal cameras to expensive FLIR options, we’ll take a look at them all.
FLIR is probably the most well known thermal camera manufacturer in the industry, their camera line ranges from inexpensive compact cameras that can be mounted to drones using custom mounts to full-on integrated drone cameras that use existing mounts. They even have an attachment to turn your cellphone into a thermal camera.
Yuneec also offers its own thermal cameras that can be used seamlessly with a variety of their respective platforms.
Before we get into the nitty gritty of what camera is the best option for you we need to learn a bit about the camera specs.
Thermal Camera Specifications
Range
Range is the spread of temperatures that the camera is capable of capturing. Different cameras have different ranges and some have multiple to increase accuracy. This is an important spec to review along with the application you have in mind. For example, if your intent is to measure the temperature at an exhaust stack or on a boiler, you will want a temperature range that is higher. If you are search and rescue you will want a temperature range that encompasses the human body temp, 98 Degrees Fahrenheit.
IR Resolution
The IR Resolution or thermal resolution is how many pixels are displayed in the image. The higher the resolution, the more pixels, details, and the higher the cost generally. Better resolution can get you a more accurate reading. Part of what resolution you require depends on your application. Can you get up close to what you are inspecting? Then you might be able to get away with lower resolution and save some cost.
Field of View (FOV)
The Field Of View refers to what the lens can see. A wide angle FOV would be something 45 degrees or wider and useful for inspections or work up close to things. Longer distances may require a telephoto lens, 6-12 degrees, to narrow the image down further away. Some more expensive options come with multiple lenses and the ability to swap out. When bought there is often a choice between a variety of different sized lenses that usually does not affect the price much.
Focus
Most of the entry-level thermal cameras will have a fixed focus. However, if you pay a bit more you can get an automatic or manual focus to bring sharper clarity to the area you are inspecting. Some of the more expensive FLIR cameras have 2x, 4x, and even 8x zoom on the high end.
Thermal Sensitivity (NETD)
Thermal Sensitivity, also known as Noise Equivalent Temperature Difference, is a measure of well the camera can define the smallest temperature difference. This is commonly measured in milli-Kelvin (mK). The higher the mK, the more noise there is in the image, and the cheaper the camera. Low mK cameras run more expensive but have a much cleaner looking image.
Frame rate
Frame rate refers to how fast the image sensor updates the output information that you see on the screen. For example, a 9 Hz camera refreshes the screen 9 times in a second. Whereas a 30 Hz camera will refresh 30 times per second. Human eyes will see things naturally around 24 frames per second or 24 Hz. This means that when you look at the video feed coming from the 9 Hz camera you will notice it is choppy. However, the feed from the 30 Hz camera will be smooth. The 30 Hz camera also costs a lot more than the 9 Hz. So if your application is sufficient with taking pictures or dealing with a choppy video feed, 9 Hz is fine and will save you some money.
Comparing The Top 5 Most Affordable Drone & Camera Setups
For your convenience, here are 5 affordable ways to get into thermal imaging with your drone ranging from DIY drone builds to DJI professional setups.
1 – Custom/Home-Built-Drone Platform + Cellphone Camera with FLIR One Gen3
Remember my warnings about getting into thermal imaging with a custom-built drone platform above. However, it can be the most affordable. Also, a smartphone is not included with the setup but doesn’t everyone have one these days?
Note: You will also need to 3D print or use wire/duct tape etc. to attach your phone to the bottom of the drone. The Quadcopter kit listed below is a cheap one from China that has all the parts you need to build a drone that will fly. I added in a transmitter & receiver which would be needed to complete the drone. The setup below is basically the cheapest way to get a thermal image from the sky. Its durability, accuracy, user control, and effectiveness will not be the best.
I don’t recommend building your first drone to be a thermal imaging drone. But if you are not keen on the Chinese kit linked below, check out this guide, and go down to the 7″ plus-size drone instructions. There are thousands of different parts you could get to build a drone.
The thermal cameras listed below are meant to plug into a smartphone. Let me help you pick which one works for you with the table below that explains the specs each camera boasts. Check back up above for what these specs mean and what will work best for you!
| Thermal Camera Options | FLIR one Gen3 | FLIR ONE Pro | Seek Thermal CompactPro |
| Thermal Resolution | 80 x 60 | 160 x 120 | 320 x 240 |
| Object Temperature Range | -20 to 120°C 4 to 248°F | -20 to 400°C 4 to 752°F | -40 to 200°C -40 to 626 °F |
| Thermal Sensitivity | 150 mK | 70 mK | 70 mK |
| Image Presentation Modes | MSX | Infrared, visual, MSX, gallery | Infrared, visual, MSX, gallery |
| Field of View | 50° | 55° | 32° |
| Frame Rate | 8.7 Hz | 8.7 Hz | 15 Hz |
| Battery Life | 1 hour | 1 hour | N/A |
| Name/Link | Price |
| Hobbypower DIY F450 Quadcopter Kit | $140 |
| Transmitter & Receiver | $159 |
| THERMAL CAMERA OPTIONS | |
| FLIR one Gen 3 Thermal Camera | $200 |
| FLIR ONE Pro | $376 |
| Seek Thermal CompactPRO | $419 |
2 – Parrot Anafi Thermal
The Parrot Anafi Thermal is the likely the cheapest out of the box solution, Parrot is a reputable brand and the Anifa Thermal comes equipped with both a 4k optical camera and a standard thermal camera that integrates directly with the controller natively, meaning you can see the thermal images real time and record just like a standard camera.
| Name/Link | Price |
| DRONE & THERMAL CAMERA | |
| Parrot Anafi Therma Drone | $1,900 |
It makes use of the FLIR Lepton Camera module and has the following specs.
| Thermal Camera Options | FLIR Lepton 3.5 |
| Thermal Resolution | 160 x 120 |
| Object Temperature Range | -10 to 400°C 14 to 752°F |
| Thermal Sensitivity | 50 mK |
| Field of View | 57° |
| Frame Rate | 8.7 Hz |
| Battery Life/Flight Time | 26 min |
3 – Typhoon
Yuneec has several larger drone options that have the ability to swap their cameras quickly with their hot swap feature. Both drones below are hexacopters and have the ability to still fly if one motor goes down. The Typhoone H comes in with a slightly smaller frame than the H520. But both are good commercial drone purposed options.
| Name/Link | Price |
| DRONE OPTIONS | |
| YUNEEC Typhoon H | $499 |
| YUNEEC H520 | $1,999 |
| THERMAL CAMERA ATTACHMENTS | |
| YUNEEC E10T50 | $4,999 |
| YUNEEC CGOET | $1,999 |
| DRONE & THERMAL CAMERA BUNDLES | |
| YUNEEC H520 & CGOET | $3,799 |
| YUNEEC H520 & E10T50 | $6,998 |
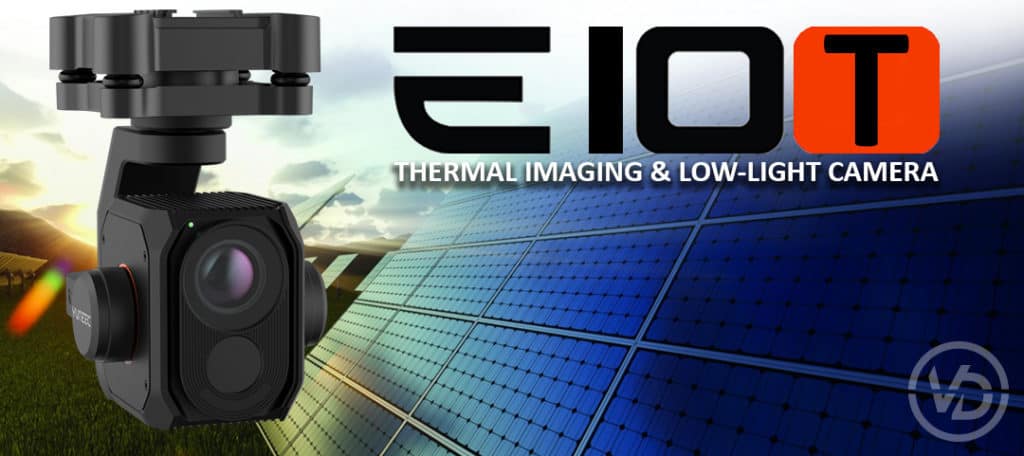
The thermal camera options listed aboce are specifically for the YUNEEC drones and slip on to the payload plate below the drone seamlessly. The E10T50 has better specs than the CGOET, but also a much higher price tag. Compare the specs below to see which one will work for you.
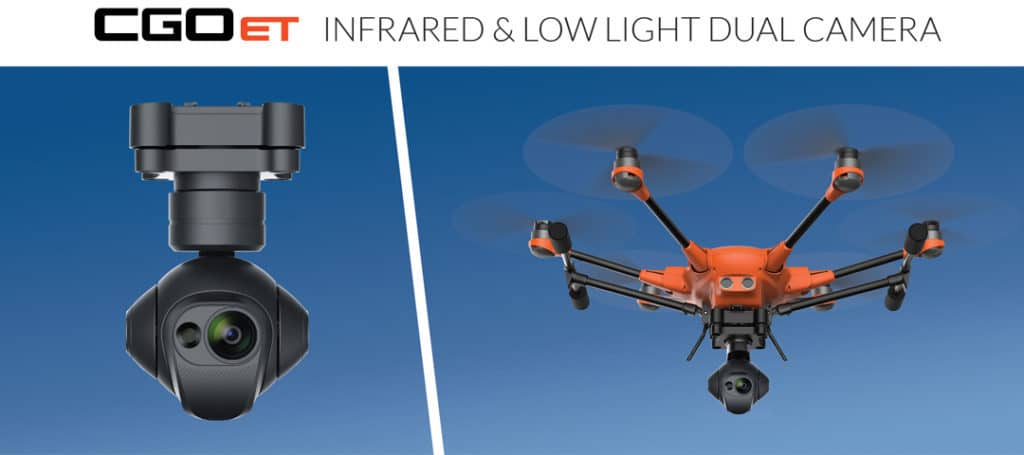
| Thermal Camera Options | CGOET | E10T50 |
| Thermal Resolution | 160 x 120 | 320 x 256 |
| Object Temperature Range | -10 to 120°C 14 to 248°F | -40 to 550°C -40 to 1022°F |
| Thermal Sensitivity | 50 mK | 50 mK |
| Field of View | 56° | 89.6° |
| Frame Rate | 9 Hz | 9 Hz |
| Battery Life/Flight Time | 25 min | 25 |
3 – Mavic 2 Enterprise Dual
The Mavic 2 Enterprise Dual is similar to the Parrot Anafi Thermal, as it is a complete system that comes with both infrared & Visible display modes. Being DJI, the quality is higher than the Parrot Anafi which also means its price tag is higher as well. It makes use of its Ocusync 2.0 technology to give a range of up to 8 km! It is extremely versatile, compact and has great obstacle avoidance as well. The Mavic platform is often considered the gold standard for small UAVs, so it only made sense for them to offer a thermal imaging option.
| Name/Link | Price |
| DRONE & THERMAL CAMERA | |
| Mavic 2 Enterprise Dual | $3,350 |
The thermal camera used in the Mavic 2 Enterprise is actually the same one used in the Parrot Anafi Thermal, the Lepton 3.5 thermal camera module. Where the Mavic exceeds the Parrot is in flight time (31 mins), speed/power, build quality, and more accessory options.
| Thermal Camera Options | FLIR Lepton 3.5 |
| Thermal Resolution | 160 x 120 |
| Object Temperature Range | -10 to 400°C 14 to 752°F |
| Thermal Sensitivity | 50 mK |
| Field of View | 57° |
| Frame Rate | 8.7 Hz |
| Battery Life/Flight Time | 31 min |
Justifying the extra money for the Mavic over the Parrot can be difficult. Here’s a link to an article that does a good comparison if you want more information (dronelife.com/comparisonarticle).
4 – FLIR Capable Drones
Now, I know affordable is different for some people. Just some fair warning that we are going to get into the advanced, expensive setups now. If you are serious about thermal imaging you will trust in the excess cost and investment. Firstly, note there is a large price difference in a thermal camera once it is considered a Radiometric Camera. What does this mean?
A radiometric thermal camera measures the temperature of a surface by interpreting the intensity of an infrared signal reaching the camera.
Adding radiometric functionality to a camera can give drone operators the ability to save the pictures for post-flight image analysis and accurately measure the temperatures of individual image pixels. The addition of radiometric imaging enables drones to capture temperature data in every pixel of an image. Drone operators can thus analyze and send detailed reports and images that examine temperature data in the entire image, delivering quantifiable results.
https://www.flir.com/discover/security/radiometric/the-benefits-and-challenges-of-radiometric-thermal-technology/
Thermal cameras that are not radiometric are generally less expensive. They still detect temperature changes and the trend over the screen of the thermal image. Radiometric thermal cameras are used more for inspection purposes and record the temperature of each individual pixel for more detail. These cameras by FLIR are noted radiometric with an R at the end of the name.
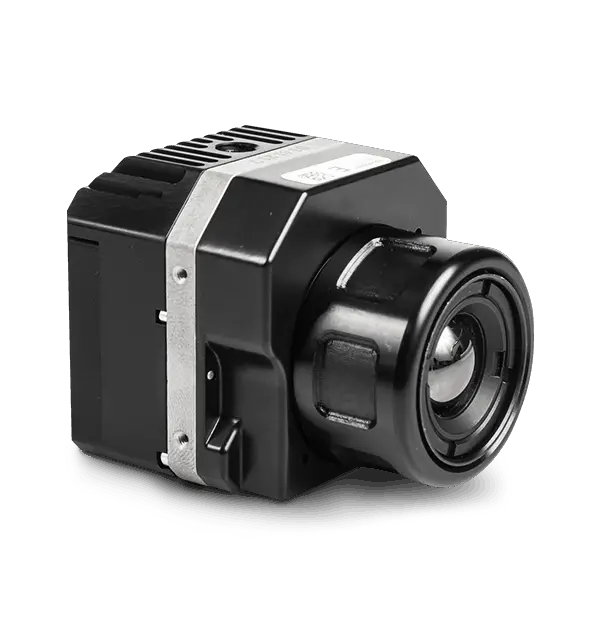
The 3 most popular FLIR cameras to be installed on a drone and used professionally are the Vue Pro, Vue Pro R, and the DUO Pro R. They each have different options for some of their specs which comes with different costs.
Note: The following costs are just for the camera. The gimbal and drone or platform for the camera will be additional and we will get into that shortly.
See the table below for a summary of the basic specs and prices for the FLIR Vue Pro camera. For more information and to buy click the link below.
FLIR Vue Pro
| Thermal Resolution | FOV | Lens Option | Frame Rate | Price |
| 336 x 256 | 44° | 6.8mm | 30Hz | $2,349 |
| 336 x 256 | 44° | 6.8mm | 9Hz | $2,149 |
| 336 x 256 | 35° | 9mm | 30Hz | $2,349 |
| 336 x 256 | 35° | 9mm | 9Hz | $2,149 |
| 336 x 256 | 25° | 13mm | 30Hz | $2,349 |
| 336 x 256 | 25° | 13mm | 9Hz | $2,149 |
| 640 x 512 | 69° | 9mm | 30Hz | $3,849 |
| 640 x 512 | 69° | 9mm | 9Hz | $3,649 |
| 640 x 512 | 45° | 13mm | 30Hz | $3,849 |
| 640 x 512 | 45° | 13mm | 9Hz | $3,649 |
| 640 x 512 | 32° | 19mm | 30Hz | $3,849 |
| 640 x 512 | 32° | 19mm | 9Hz | $3,649 |
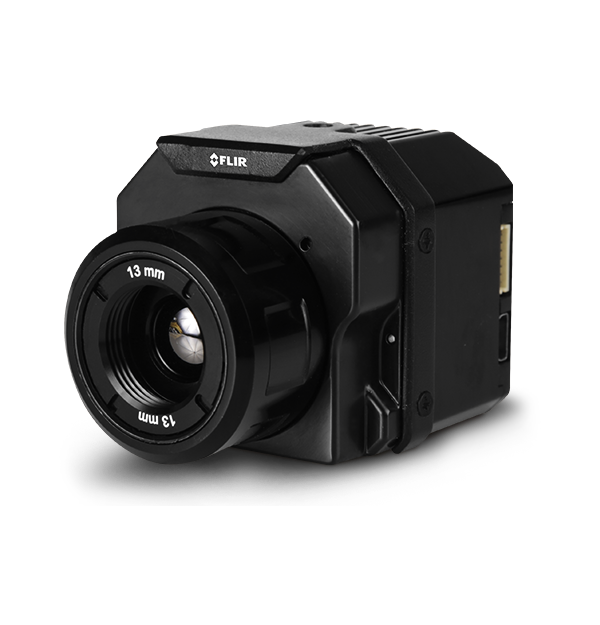
FLIR Vue Pro R
| Thermal Resolution | FOV | Lens Option | Frame Rate | Price |
| 336 x 256 | 45° | 6.8mm | 30Hz | $3,349 |
| 336 x 256 | 45° | 6.8mm | 9Hz | $3,149 |
| 336 x 256 | 35° | 9mm | 30Hz | $3,349 |
| 336 x 256 | 35° | 9mm | 9Hz | $3,149 |
| 336 x 256 | 25° | 13mm | 30Hz | $3,349 |
| 336 x 256 | 25° | 13mm | 9Hz | $3,149 |
| 640 x 512 | 69° | 9mm | 30Hz | $4,849 |
| 640 x 512 | 69° | 9mm | 9Hz | $4,649 |
| 640 x 512 | 45° | 13mm | 30Hz | $4,849 |
| 640 x 512 | 45° | 13mm | 9Hz | $4,649 |
| 640 x 512 | 32° | 19mm | 30Hz | $4,849 |
| 640 x 512 | 32° | 19mm | 9Hz | $4,649 |
The FLIR Vue Pro R adds approximately $1000 for the radiometric capabilities.
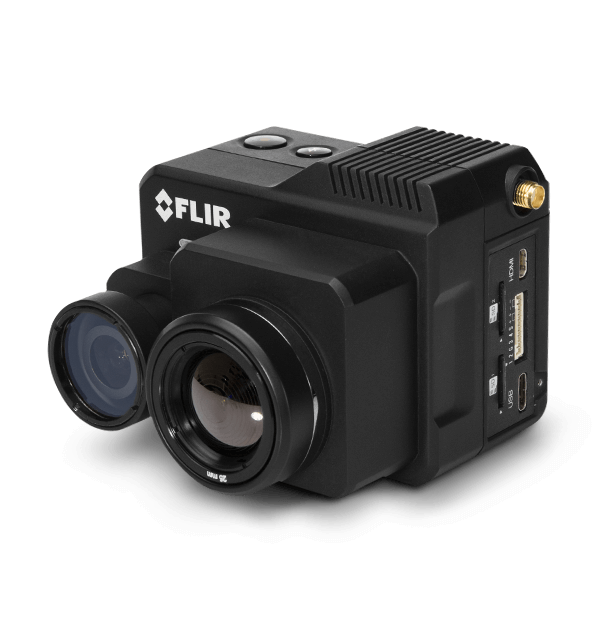
FLIR Duo Pro R
| Thermal Resolution | FOV | Frame Rate | Price |
| 336 x 256 | 17° | 30Hz | $4,499 |
| 640 x 512 | 32° | 30Hz | $6,599 |
| 336 x 256 | 25° | 30Hz | $4,499 |
| 640 x 512 | 45° | 30Hz | $6,599 |
| 336 x 256 | 35° | 30Hz | $4,499 |
| 640 x 512 | 25° | 30Hz | $6,899 |
| 336 x 256 | 35° | 9Hz | $4,499 |
| 336 x 256 | 25° | 9Hz | $4,499 |
| 336 x 256 | 17° | 9Hz | $4,499 |
| 640 x 512 | 45° | 9Hz | $6,599 |
| 640 x 512 | 32° | 9Hz | $6,599 |
| 640 x 512 | 25° | 9Hz | $6,899 |
The FLIR Duo Pro R, is perfect for your drone setup if it does not have a normal camera. The extra camera, ability to overlay and switch between the two video feeds, and radiometric properties definitely adds some cost. But, on the other hand if you get a drone that does not have the camera yet you can save some cost and apply that to this 2-in-1 setup. This will save weight and be a cleaner build.
Platform for FLIR – Gimbal & Drone
If you’ve been reading through this or other articles and wondering what the heck a gimbal is, I’ll enlighten you. A gimbal is a mechanism that can keep level while in or on a moving platform. The gimbals we often look at for drones house the camera and while staying level can also be controlled to rotate.
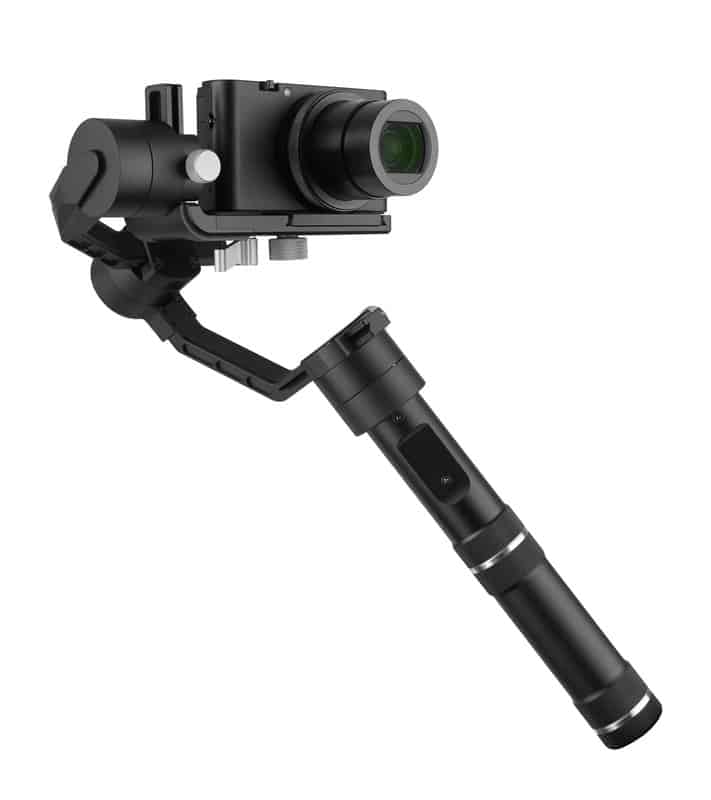
Good gimbals…(say that ten times fast) can be fairly expensive and come with better leveling and control. There are also cheaper gimbals that do not have as many abilities. It is even an option to not use a gimble and just hard mount the camera to the bottom of the drone.
See below for a table of drones that have aftermarket gimbals that fit the FLIR cameras listed above and the associated pricing. This is one of the costs you have to pay in order to have the best thermal imaging setup.
| DJI Phantom 3 Standard | $499 |
| DJI Phantom 3 Advanced | $675 |
| DJI Phantom 3 Professional | $1,290 |
| Phantom 3 Gimbal – Black FPV GOPRO | $40 |
| Phantom 3 Gimbal – Sky Eye – II | $928 |
| VUE Pro R Mount | ~ $1600 |
| VUE Pro R Mount – With LCD Screen | ~$2600 |
| DJI Mavic 2 | $1,599 |
| Mavic 2 Thermal Gimbal – Contact for Pricing | See Link |
| DJI Inspire 1 | $1,386 |
| DJI Inspire 2 | $3,299 |
| DJI Matrice 100 | $3,299 |
| DJI Matrice 210 RTK | $6,800 |
| DJI Matrice 600 | $5,699 |
| VUE Pro R Mount | ~ $1600 |
| VUE Pro R Mount – With LCD Screen | ~$2600 |
| SKY EYE DUO PRO | $999 |
5 – DJI Inspire/Matrice with Zenmuse Kit
The Zenmuse XT and XT2 were designed by FLIR with a partnership with DJI specifically in mind. As a result, these cameras are a direct fit up with several DJI models. The XT is a direct instant fit with the DJI Inspire 1 and Matrice 100, 200, and 600 series. The XT2 is a direct instant fit with the DJIM200 Series drone as well as the Matrice 600 Pro. See the XT2 below on the left and the XT on the right.
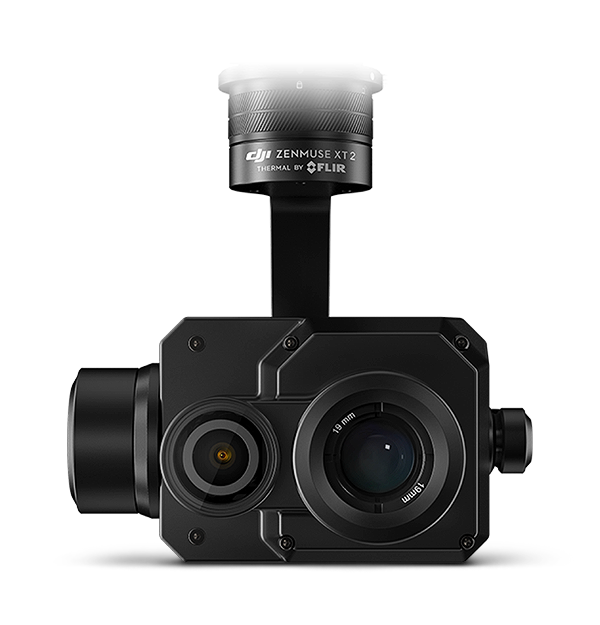
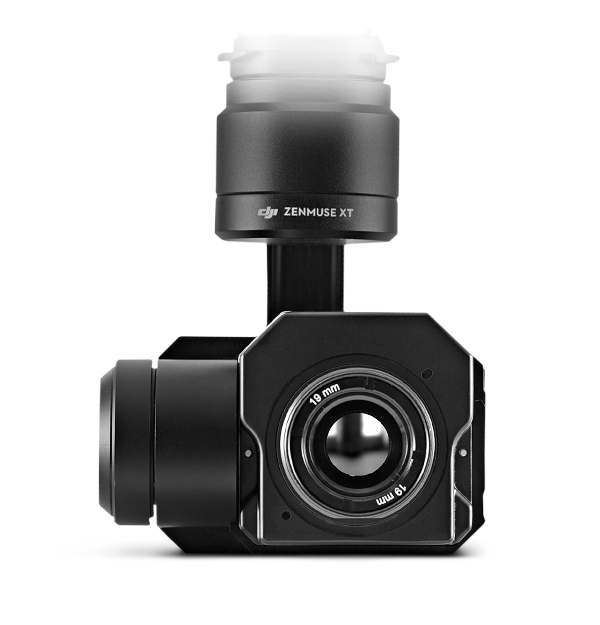
These cameras come with the correct gimbal and controls to seamlessly hookup to the DJI drone. For the quality and function, the price actually represents a fantastic value and is a great compromise between dedicated enterprise platforms and lower-end setups.
| Camera | DJI Zenmuse XT | DJI Zenmuse XT2 |
| Thermal Resolution | 640 x 512/ 336 x 256 | 640 x 512/ 336 x 256 |
| Object Temperature Range | -40 to 550°C -40 to 1022°F | -40 to 550°C -40 to 1022°F |
| Thermal Sensitivity | 50 mK | 50 mK |
| Field of View (lens options) | 90°,69°,45°,32°/ 37°,35°,25°,17° | 45°,32°,25°/ 35°,25°,17° |
| Frame Rate | 30 Hz | 30 Hz |
| Price (link for store) 640 x 512/ 336 x 256 | $14,325/ $9,150 | $12,699/ $6,600 |
Needless to say, FLIR and DJI working together has created an amazing system. Unlike the other FLIR cameras these cameras come with the integrated gimbals. This is a huge benefit as I am sure you have seen how expensive some of the gimbal setups can get above. The other pro is that the software for viewing the thermal video is integrated with DJI’s flying app.
For an idea on the total cost, check out a few of the bundles below.
To summarize. For just messing around and having some fun with thermal, your best bet is to throw a thermal camera on your phone and build/buy a cheap drone to fly it up and get some video.
For the more serious pilot interested in smaller inspection jobs and thermal investigations, I would recommend going with either the Yuneec, Parrot Anafi, or Mavic Enterprise setup. These will require the least amount of time to setup and get flying.
Finally, for the full fledged, all-in, professional seeking the best thermal imagery from above, I would recommend either a FLIR Duo Pro R or a Zenmuse XT/XT2 on a solid platform such as the Matrice 210K or 600 series.
Note: A thermal inspection gig where a company hires you for weekly thermal inspections could pay off your rig in a month. However, it is a competitive landscape out there and you must stand out.
I collected this information from all over the place, from youtube to FLIR to DJI. Hopefully, the way I condensed it here helped you learn a thing or two and help you with your decision on thermal!